Classic Reese's Peanut Butter Pie
Highlighted under: Artisanal Baking Recipes
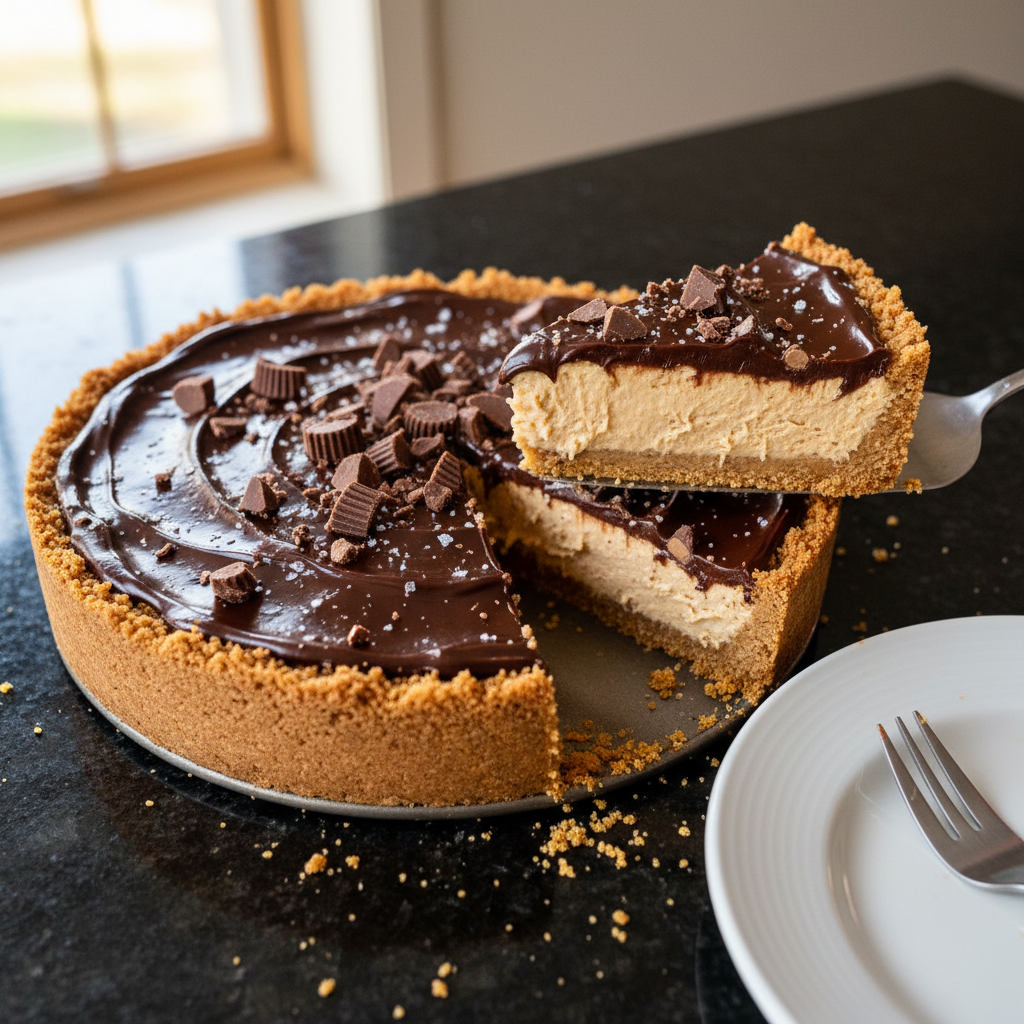
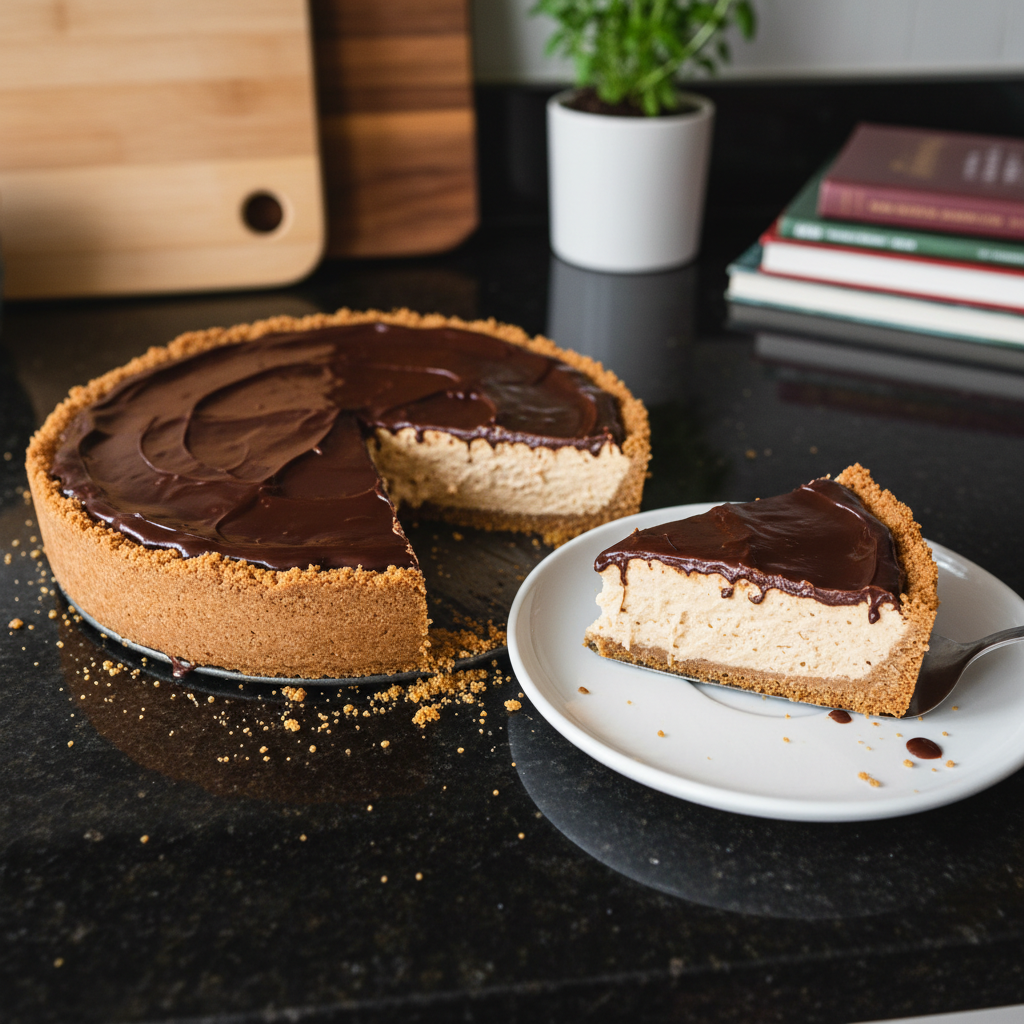
I've always had a soft spot for peanut butter desserts, and this Classic Reese's Peanut Butter Pie is no exception. The creamy filling, rich chocolate crust, and topped with whipped cream make it an indulgent treat that's hard to resist. Every bite is bursting with nostalgic flavors that bring me back to childhood. Whether you're hosting a party or just craving something sweet, this pie is sure to impress. I can't wait for you to try this delightful recipe and enjoy the peanut butter goodness!
Making this Classic Reese's Peanut Butter Pie was a delightful experience that reminded me of childhood treats. I started with a simple pre-made crust to save time, and the filling came together in just minutes. I remember the first time I made this pie—it disappeared almost instantly at a family gathering! A little tip I learned is to use room temperature cream cheese for a smoother filling.
As I topped the pie with whipped cream, I felt the excitement of everyone anticipating a taste. Pairing the sweetness of the peanut butter with rich chocolate creates a wonderful balance. I often garnish it with extra chocolate drizzle and peanut butter cups for added flair. It’s a dessert that truly shines at every occasion.
Why You'll Love This Pie
- Irresistible combination of creamy peanut butter and rich chocolate
- Simple to prepare with minimal ingredients
- Perfectly sweet and satisfying for peanut butter lovers
Mastering the Peanut Butter Filling
The filling of this pie is where the magic happens. Use a high-quality creamy peanut butter, as the taste will significantly impact the final outcome. Natural peanut butter can work, but be sure to stir it well to incorporate the oils before measuring. Beat the softened cream cheese thoroughly with the peanut butter to achieve a completely smooth texture, as any lumps can disrupt the creamy consistency of the filling.
When adding powdered sugar, do so gradually. This not only prevents a sugar cloud but also allows for easier incorporation, ensuring the mixture remains smooth. If the filling appears too thick, you can add a little extra whipped topping to help lighten it up. A quick tip: if you want a stronger peanut flavor, consider using a bit less powdered sugar to maintain a good balance.
Chilling for Perfection
Chilling the pie is crucial for developing the right texture. Once the pie is assembled, cover it tightly with plastic wrap to prevent it from absorbing any odors from your refrigerator. Refrigerate for at least 2 hours, but if time allows, letting it chill overnight will deepen the flavors and enhance the overall experience. Just be careful not to leave it too long—keeping it longer than two days can compromise the freshness of the cream topping.
As the pie chills, the filling firms up, providing that delightful sliceability and making it easier to serve. If you find the filling hasn’t set as much as you'd like after chilling, consider putting it in the freezer for about 30 minutes for a quicker chill. Just keep an eye on it to ensure it doesn’t freeze solid.
Ingredients
For the crust
- 1 pre-made Oreo crust
For the filling
- 1 cup creamy peanut butter
- 1 cup powdered sugar
- 8 oz cream cheese, softened
- 1 cup whipped topping (like Cool Whip)
- 1 teaspoon vanilla extract
For the topping
- 1 cup whipped topping (for garnish)
- Peanut butter cups (for garnish)
- Chocolate syrup (for garnish)
Mix all ingredients until smooth and fully combined.
Instructions
Prepare the filling
In a mixing bowl, combine the softened cream cheese and peanut butter. Blend until smooth. Gradually add the powdered sugar and vanilla extract, mixing until well incorporated. Finally, fold in the whipped topping gently until smooth.
Fill the crust
Pour the peanut butter filling into the pre-made Oreo crust, spreading it evenly. Smooth the top with a spatula.
Chill
Cover the pie with plastic wrap and refrigerate for at least 2 hours to set.
Garnish and serve
Before serving, top the pie with additional whipped topping, chopped peanut butter cups, and a drizzle of chocolate syrup.
Slice and enjoy this delightful pie with family and friends!
Pro Tips
- For a richer flavor, consider using crunchy peanut butter in the filling. You can also drizzle some melted chocolate over the top for an extra treat.
Serving and Presentation Ideas
When it comes to garnishing your Reese's Peanut Butter Pie, think of it as the finishing touch that elevates its aesthetic and flavor. After adding your whipped topping, for a professional look, use a piping bag with a star tip to make swirls. Top with chopped peanut butter cups for an appealing crunch and a light drizzle of chocolate syrup to add visual contrast and extra sweetness.
For an added layer of flavor, consider serving with a side of vanilla or chocolate ice cream, as the cold creaminess complements the rich filling beautifully. A sprinkling of crushed peanuts can also add a nice textural twist. Remember to slice with a warm knife—dipping it in hot water and wiping it dry can help achieve cleaner slices.
Storage Tips
This pie can be stored in the refrigerator for up to four days, making it a great make-ahead dessert. Ensure it's covered tightly to maintain its moisture and flavor. If you expect leftovers, consider adding the whipped topping just before serving to keep it looking fresh and appealing during storage.
If you want to keep the pie for longer, you can freeze it for up to two months. Slice it into portions before freezing for quick serving later on. Wrap each slice tightly in plastic wrap and then foil to prevent freezer burn. To serve, simply let the slices thaw in the fridge for a few hours or at room temperature for about 30 minutes.
Questions About Recipes
→ Can I make this pie in advance?
Yes, this pie can be made a day in advance and stored in the refrigerator until serving.
→ What should I do if the filling is too thick?
You can add a tablespoon of milk to the filling to achieve your desired consistency.
→ Can I substitute the cream cheese?
Yes, you can use a dairy-free cream cheese alternative if you want a dairy-free version.
→ How do I store leftovers?
Keep any leftover pie in the refrigerator, covered, for up to 3 days.
Classic Reese's Peanut Butter Pie
Created by: The Sizedbliss Team
Recipe Type: Artisanal Baking Recipes
Skill Level: Easy
Final Quantity: 8 servings
What You'll Need
For the crust
- 1 pre-made Oreo crust
For the filling
- 1 cup creamy peanut butter
- 1 cup powdered sugar
- 8 oz cream cheese, softened
- 1 cup whipped topping (like Cool Whip)
- 1 teaspoon vanilla extract
For the topping
- 1 cup whipped topping (for garnish)
- Peanut butter cups (for garnish)
- Chocolate syrup (for garnish)
How-To Steps
In a mixing bowl, combine the softened cream cheese and peanut butter. Blend until smooth. Gradually add the powdered sugar and vanilla extract, mixing until well incorporated. Finally, fold in the whipped topping gently until smooth.
Pour the peanut butter filling into the pre-made Oreo crust, spreading it evenly. Smooth the top with a spatula.
Cover the pie with plastic wrap and refrigerate for at least 2 hours to set.
Before serving, top the pie with additional whipped topping, chopped peanut butter cups, and a drizzle of chocolate syrup.
Extra Tips
- For a richer flavor, consider using crunchy peanut butter in the filling. You can also drizzle some melted chocolate over the top for an extra treat.
Nutritional Breakdown (Per Serving)
- Calories: 380 kcal
- Total Fat: 26g
- Saturated Fat: 15g
- Cholesterol: 195mg
- Sodium: 85mg
- Total Carbohydrates: 32g
- Dietary Fiber: 3g
- Sugars: 24g
- Protein: 6g